Quick Guide to get started with Bijify!
Getting Started
In this blog post, I will guide you through your first steps with Bijify! to ensure your experience is as satisfying as possible. Bijify! is very intuitive and easy to use. Let's get started.
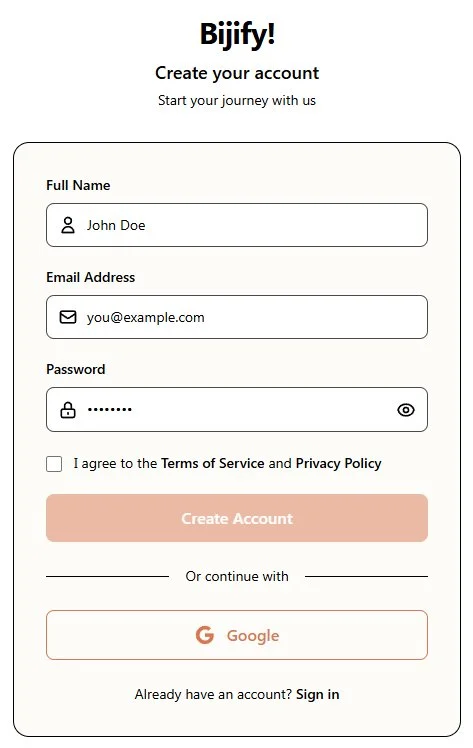
1. Registration and Setup
Obviously, the first thing you need to do is register on the website. Click the Get Started button:

You can create an account step-by-step or log in using your Google account, which is usually the most convenient option.
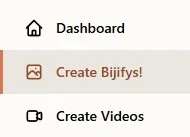
Once your account is created, you can enter your Dashboard to start creating. You have 125 free credits to try the tool (you can generate up to 5 Bijifys!).

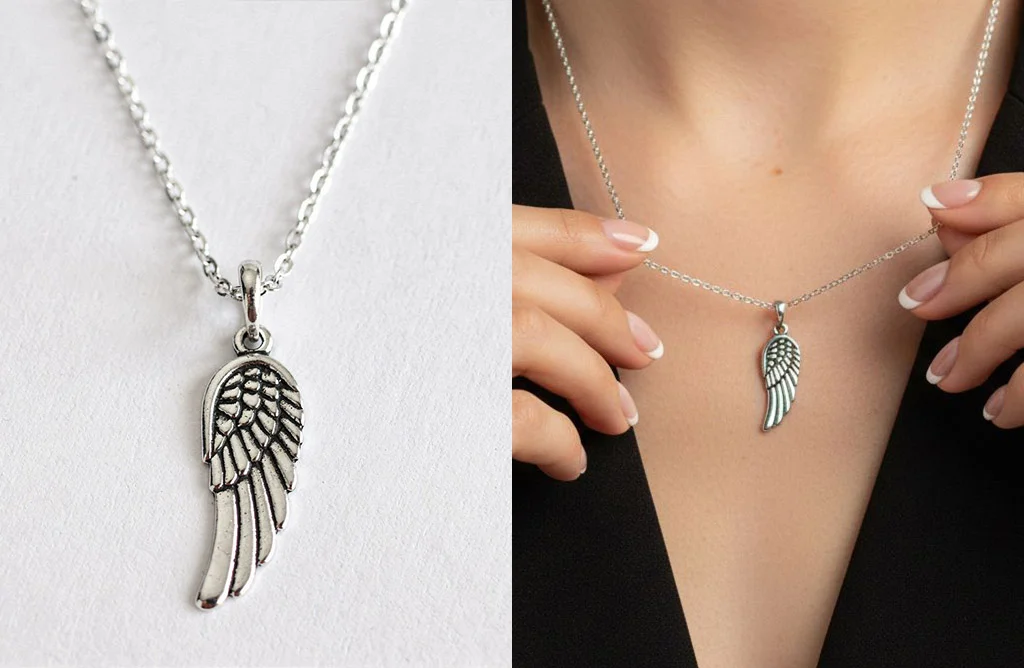
2. Preparing and Uploading Your Photo
Go to Create Bijifys!.
Now you need a photo of your jewelry.
What should this photo look like?
Ideally, it should be as high-quality as possible: good resolution, good lighting, and sharp focus on the jewelry. However, don't worry! We have done many tests, and you can actually try with almost any photo you have. Even if the resolution isn't great or the lighting isn't perfect, simply upload your photo and let Bijify! work its magic.
Key recommendations:
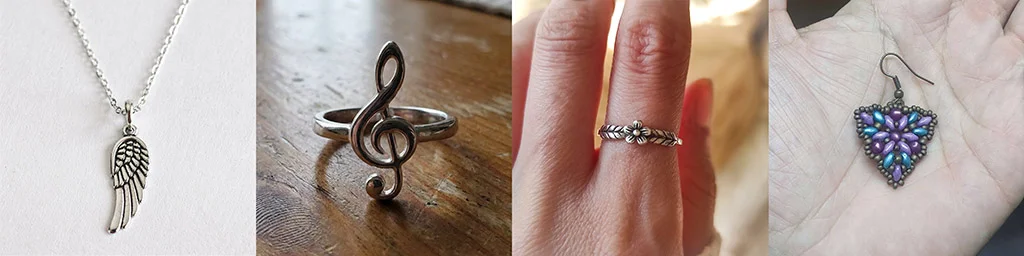
- Ensure the jewelry is shown as completely as possible.
- Avoid side angles where important details are lost.
- Example: If it is a ring and only part of the band is visible, Bijify! will know it's a ring, but if the photo is completely frontal hiding the back entirely, it might not turn out well.
- It is not strictly necessary for the jewelry to be isolated. If it's a ring or an earring and you already have a photo wearing it, that will work too.
Here you can see different sample photos, but remember, always try your best.
You can upload your photo or drag and drop it directly from your computer.

Tip: You can drop it directly from the browser, for example, if you have the image uploaded to your own website.
3. Creating Your Bijifys!
Once your image is uploaded, you have two main options to create your Bijifys!.
Option A: Using the UI Configuration
Choose the photo type: On-body or Still-life.


Explore all available options and presets. There are hundreds, and the possibilities are huge!
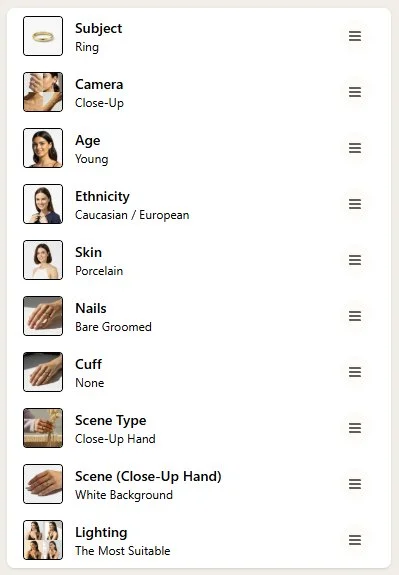
With options configured, press the Bijify! button.
The image will take about 10-15 seconds to generate and appear in Your Bijifys!.
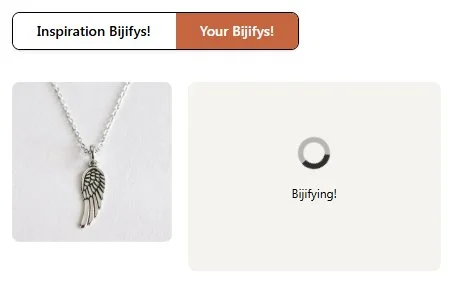
You can view it and download it.
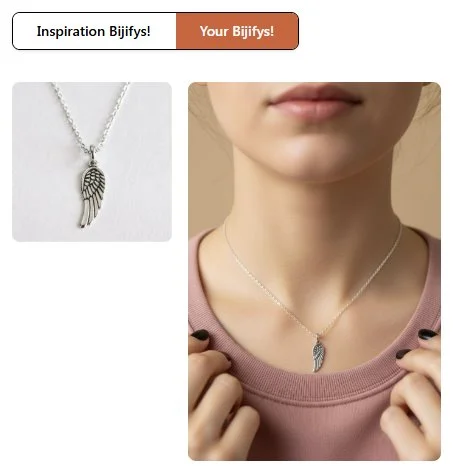
Please rate the result with a like or dislike. This is very important for us to improve and perfect our engine so we all win.

Option B: Inspiration Bijify!
This is the second option. Here you have hundreds of examples created with Bijify! that you can easily reuse.
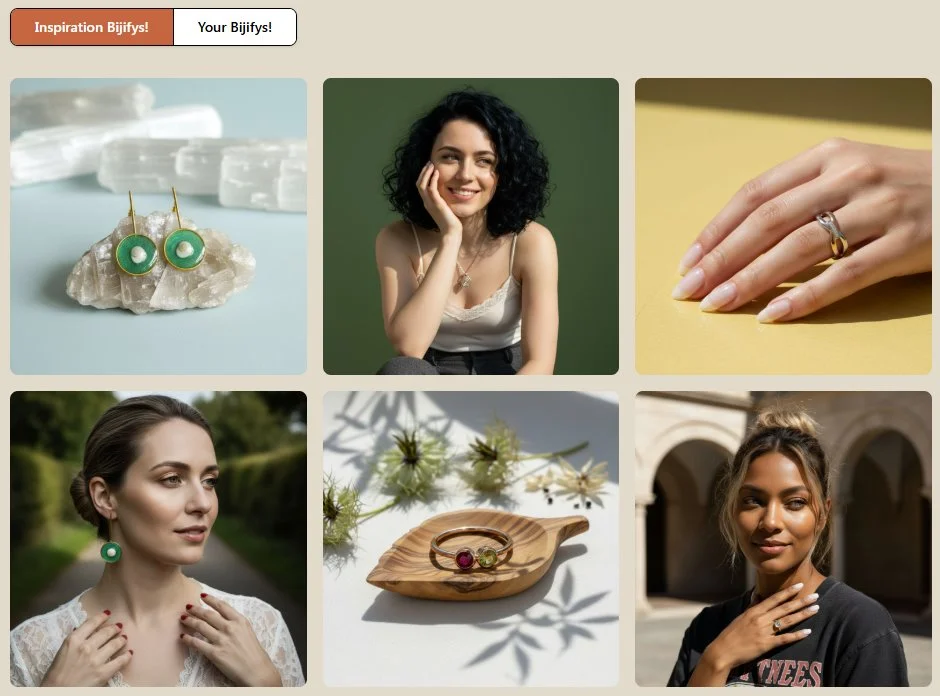
Choose the one that best fits what you want to achieve. If you have a ring, look for bijifys! with rings.
Click Bijify! This Template.

This will copy the options to the UI. From here, you can modify whatever you want or directly hit the Bijify! button.
Tip: You can choose a template that isn't for your specific jewelry type and change it later in the options. For example, choose a still-life with earrings and then switch the setting to "ring".
Note: Do not try impossible things; if there is an earring stand, do not use it for rings.
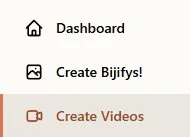
4. Creating Videos (Experimental)
You can also create videos from Create Videos. For now, this is a somewhat experimental feature, but the results can be spectacular.
Drop an image again, or
Use the Make Video option available on your generated Bijifys!.

5. Advanced Tips
Here are some more advanced tips that will be useful for you.
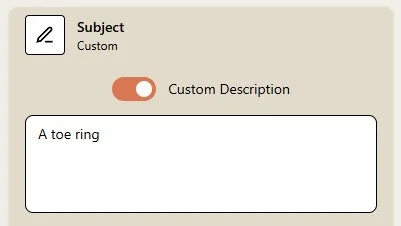
Items not in the UI (Custom Description)
If you have a type of jewelry that isn't in the standard UI list (e.g., a toe ring or an anklet):
Each UI option has a section to write a Custom description.
Activate it and write "an anklet" or "a toe ring".
Important: Use the fields correctly. If you want to change clothing or hairstyle, it is crucial that you write it in the corresponding section, not in the jewelry subject.
Refining Materials
If your jewelry shape comes out right but the materials aren't exactly the same (e.g., your ring is matte silver but results show polished silver):
Go to the Subject option.
Activate Custom description.
Describe the ring precisely, for example: "A matte silver ring with four small diamonds".
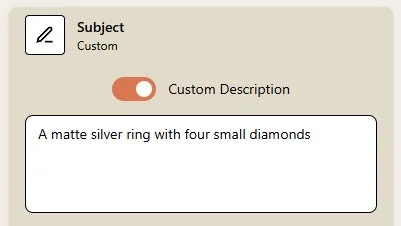
The more precise you are, the better.
6. Managing Your Bijifys!
In the Your Bijifys! section, you will see your creations ordered in groups according to your jewelry item.
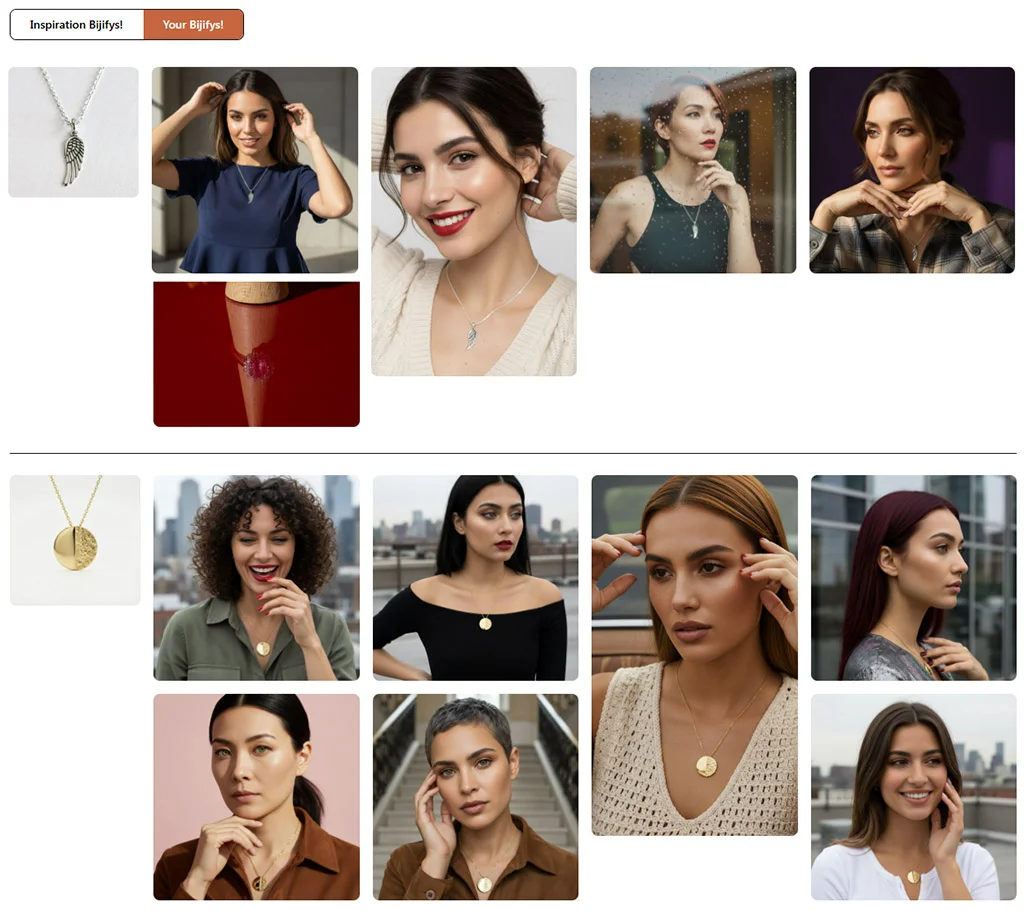
With Bijify! Again You can make new versions of your creations without uploading the original photo again.

It's like having your own bijify-templates to reuse whenever you want!
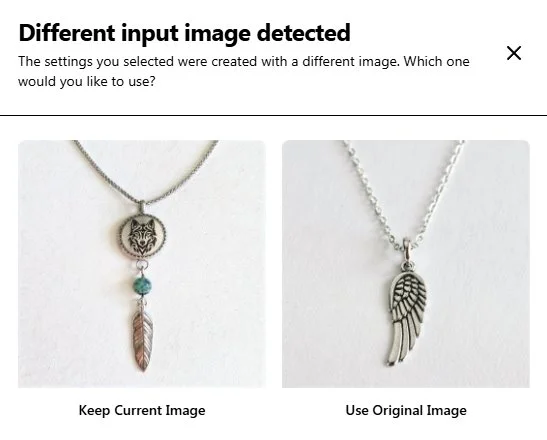
If Bijify! detects a different input, it will ask which one you want to choose for the Re-Bijify!. Choose the new one, and you will be reusing the same options.
And that's all for now! We have many features planned for the future, but we would love to hear your feedback.
Email us at info@bijify.com and enjoy Bijifying!